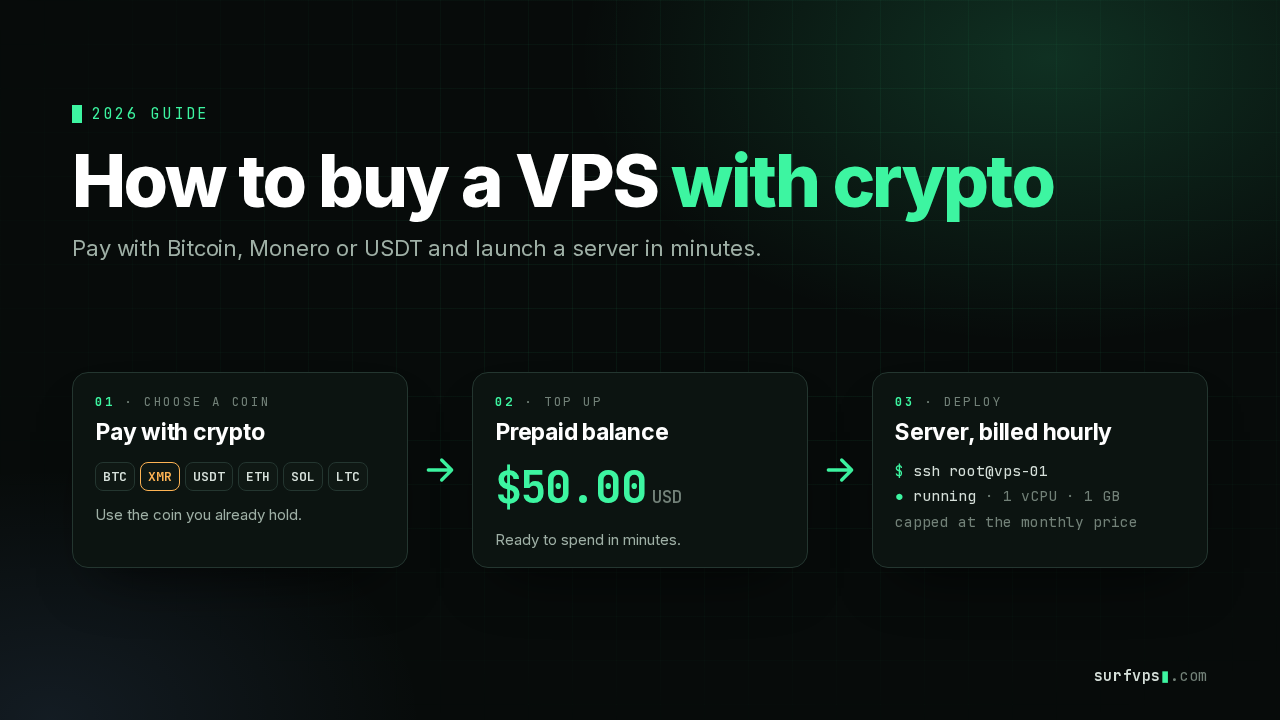
Buying a VPS with crypto is easier than most people think. You don’t need a credit card, a bank account or a pile of paperwork: just an email address and the coins already in your wallet.
This guide takes you from wallet to running server in five simple steps. It works the same whether you pay with Bitcoin, Monero, USDT or another popular coin, and most people are up and running within minutes.
The quick answer
QUICK ANSWER Pick a host that accepts crypto, sign up with your email, top up your balance with the coin you hold, then choose a plan and a region and click deploy. Your server is usually online about a minute later.
Why pay for a VPS with crypto?
- No card needed. Pay straight from your wallet, from anywhere in the world.
- Quick signup. Many crypto hosts ask for nothing more than an email and a password.
- Use the coins you already have. Bitcoin, Monero, USDT, Ethereum, Solana and Litecoin are all widely accepted.
- Real cloud servers. Your VPS can run on well-known clouds such as DigitalOcean, Vultr and Hetzner.
- Pay as you go. With hourly billing, you only pay for the hours you keep a server.
Step 1: Choose a crypto-friendly host
Start with a host that accepts the coin you hold and has servers close to your users. A good one shows its prices up front, bills by the hour and lets you launch a server as soon as your balance is topped up.
Hosts such as surfvps make it simple to pay for a server in crypto: you add funds to one prepaid balance and use it for any server you launch, with plans from $11 a month.
Step 2: Create your account
Signing up usually takes under a minute. Enter your email, choose a password and confirm your address from the email you receive.
At many crypto hosts that’s all there is to it: no ID upload, no phone number and no card on file.
Step 3: Top up your balance with crypto
Open the billing page, enter how much you’d like to add (often from $20) and pick your coin. You’ll see a payment address and a QR code, so just scan it with your wallet or copy the address and send.
Your balance updates automatically once the network confirms the payment, usually within a few minutes. Bitcoin takes a little longer, around half an hour, because its blocks are slower.
TIP Paying with USDT? Pick the same network that’s shown on the payment page, for example TRC-20 (Tron). That’s all it takes for your top-up to arrive smoothly.
Not sure which coin to use? Any of them works. Here’s a quick guide:
| Coin | Speed | Great for |
| Bitcoin (BTC) | About 30 minutes | The coin most people already hold |
| Monero (XMR) | About 20 minutes | Extra privacy |
| USDT | Fast | Paying in stable US dollars |
| Ethereum (ETH) | Fast | Wallets that already hold ETH |
| Solana (SOL) | Very fast | Quick top-ups with tiny fees |
| Litecoin (LTC) | Fast | Low-cost everyday payments |
If privacy matters to you, Monero is the popular choice, because it keeps the sender, the receiver and the amount private by default. That’s why so many people pay for their VPS with Monero.
Step 4: Deploy your server
With funds in your balance, the fun part begins. Pick a cloud provider, a region close to your users, a plan size and an operating system such as Ubuntu or Debian. Add your SSH key if you have one, then click deploy.
Your server is usually up and running in about a minute, with full root access and its own IPv4 address. On surfvps, for example, you can choose from 55 regions across DigitalOcean, Vultr and Hetzner, all paid from the same balance.
Step 5: Log in and start building
Connect over SSH using the IP address shown in your dashboard: ssh root@your-server-ip. Run your system updates first, then install whatever you came for, whether that’s a website, a VPN, a bot, a node or a development environment.
One easy habit for day one: log in with an SSH key instead of a password, and switch on a simple firewall such as ufw. It takes about five minutes and keeps your new server secure from the start.
How much does it cost?
Less than you might expect. As a real example, our smallest plan comes with 1 vCPU, 1 GB of RAM and 25 GB of SSD storage for $11.00 a month, which works out to about $0.0164 an hour.
Because billing is hourly and capped at the monthly price, you can try a server for an hour for about two cents, or keep it running all month without ever paying more than the plan price. A $20 top-up keeps that smallest server running for about seven and a half weeks.
Quick recap
- Choose a host that accepts your coin.
- Sign up with your email.
- Top up your balance with crypto.
- Pick a plan and a region, then deploy.
- Log in with SSH and start building.
That’s really all there is to it. Once you’ve done it once, your next server is just a top-up and a click away.
Frequently asked questions
Can I buy a VPS with Bitcoin?
Yes. Bitcoin is accepted by almost every crypto-friendly host. Your balance updates once the payment confirms, usually in around half an hour.
What is the best cryptocurrency to pay for a VPS?
The one you already hold. Solana and Litecoin are quick and cheap to send, USDT keeps a stable dollar value, and Monero is the favourite for privacy.
How long does it take to get a VPS with crypto?
Usually just a few minutes. Most payments confirm within minutes, and the server itself is ready about a minute after you click deploy.
Do I need ID to buy a VPS with crypto?
Not at many crypto hosts. surfvps, for example, only asks for an email address and a password.
Can I pay for a VPS with USDT?
Yes. Choose USDT at checkout and send it on the network shown on the payment page, such as TRC-20 on Tron.
About the author
Written by the team at surfvps, a crypto-paid VPS host running servers on DigitalOcean, Vultr and Hetzner.